Bootstrap Checkbox Class
Introduction
In certain cases the elementary things might just get quite essential-- especially as you come to need them. For example exactly how do your website visitors communicate with the pages you set up stating a basic Boolean act-- simply yes or no regarding a couple of the questions you want to ask, how they do confirm the conditions and terms or line up a handful of the achievable selections they might possess. We commonly surpass this without paying enough of an attention to the element accountable for these kinds of actions yet the Bootstrap Checkbox Input is really a really critical component-- one our forms can not actually do without.
Located in the latest fourth version of the Bootstrap system we are supplied with the
.form-check.form-check-label<div>.form-check.form-check-label<label><input>.form-check-inputHow you can apply the Bootstrap checkbox:
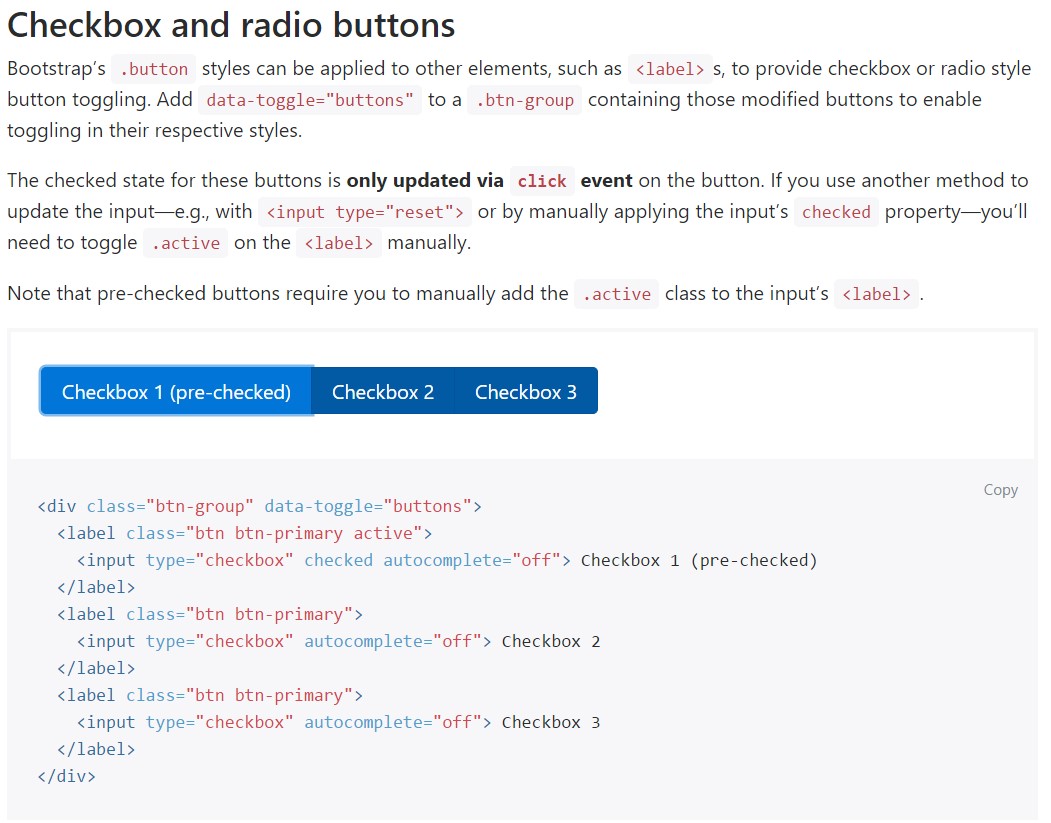
The checked state for these types of buttons is only upgraded through click event on the button. If you apply an additional solution to improve the input-- e.g., with
<input type="reset">.active<label>
<div class="btn-group" data-toggle="buttons">
  <label class="btn btn-primary active">
    <input type="checkbox" checked autocomplete="off"> Checkbox 1 (pre-checked)
  </label>
  <label class="btn btn-primary">
    <input type="checkbox" autocomplete="off"> Checkbox 2
  </label>
  <label class="btn btn-primary">
    <input type="checkbox" autocomplete="off"> Checkbox 3
  </label>
</div>
Sometimes we want to have the checkboxes to be within our forms without the user actually having the capacity to have any type of activity selecting them-- that is actually where the disabled option comes out.
If you want to disable appropriately a checkbox in Bootstrap 4 using the standard HTML attribute
disabledOn the occasion that you find appealing the suggestion and actually would like to carry this out you must specify the
.disabled.form-checkAn additional example
Whenever utilizing checkboxes, wrap them in a
<label>.custom-control.custom-checkboxEmploy
.custom-control-input<input>Additionally employ two
<span>.custom-control-indicator.custom-control-description
<label class="custom-control custom-checkbox">
<input type="checkbox" class="custom-control-input">
<span class="custom-control-indicator"></span>
<span class="custom-control-description">Boots</span>
</label>
Bootstrap Checkbox Label forms
Default checkboxes and radios are developed upon with the assistance of
.form-checkDisabled checkboxes and radios are maintained, however, to deliver a
not-allowed<label>.disabled.form-checkA brand-new thing for the Bootstrap version 4 framework is the initiation of the so called custom form elements. These are the identical elements we are knowing within capability although styled even more eye-catching and also in the Bootstrap method. Having them you can incorporate fascinating excitement as well as individuality to your web content with just specifying a number of extra classes to the controls you provide in your forms.
For you to employ custom checkboxes wrap them in a
<label>.custom-control.custom-checkbox<input>.custom-control-input<span>.custom-control-indicator.custom-control-descriptionFinal thoughts
That's essentially all that you require to handle in order to insert a checkbox feature for your Bootstrap 4 powered website and put in a number of customized flavor to it adding it a nice looks. And now everything you need to do is repeat the drill until you have actually reviewed all of the checkboxes needed are actually on the page.
Inspect a couple of video clip information relating to Bootstrap checkbox
Connected topics:
Bootstrap checkbox official records
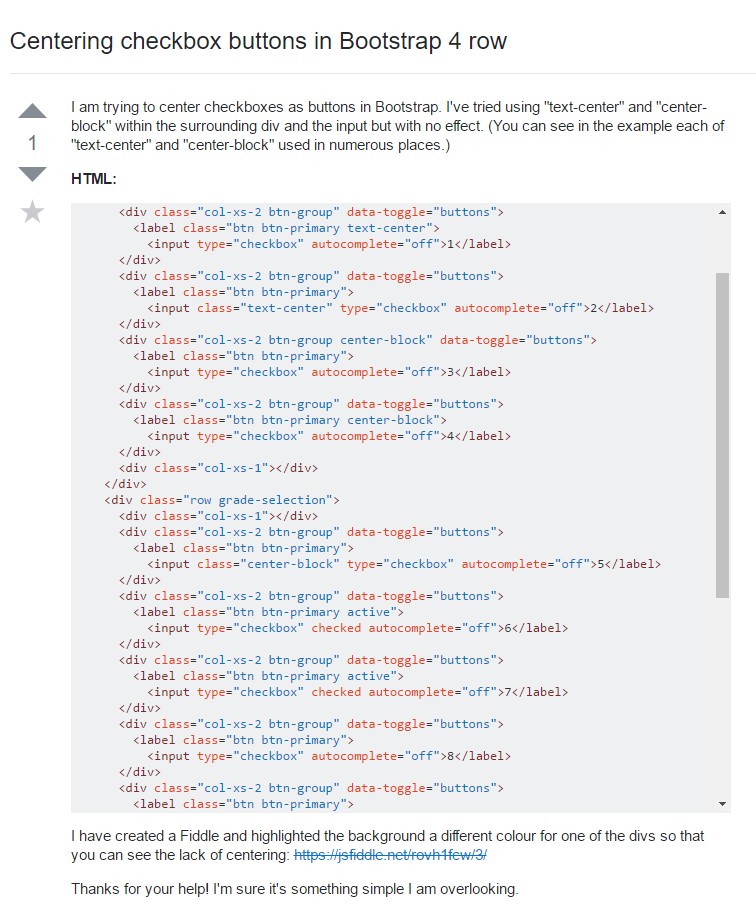
Centering checkbox buttons in Bootstrap 4 row
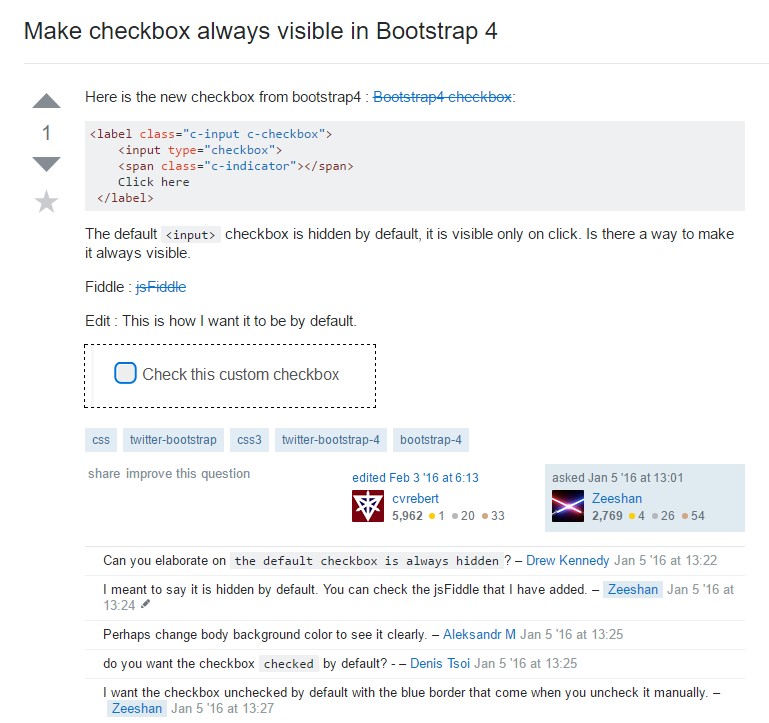
Make checkbox always visible in Bootstrap 4